Stop Watering Daily: Build Cheap Sub-Irrigated Planters Today
Are you tired of constantly battling thirsty plants, especially during hot, windy summers? Does the thought of daily watering drain your gardening enthusiasm? Imagine a world where your plants get exactly the moisture they need, when they need it, with minimal effort from you. This isn't a gardener's fantasy; it's the reality of sub-irrigated planters (SIPs), and the best part is you can build them cheaply and easily today!
For years, gardeners have struggled with the challenges of traditional container gardening: rapid water evaporation, inconsistent moisture levels, and the constant chore of hand-watering. Whether you're tending a bustling rooftop garden in a city, a sunny balcony, or just want to give your backyard tomatoes the best chance, learning how to make a sub irrigated planter can be an absolute game-changer. These ingenious systems conserve water, ensure consistent root hydration, and free you from the daily watering grind, allowing you to enjoy your flourishing garden more than ever before.
What Exactly is a Sub-Irrigated Planter (SIP) and Why Do You Need One?
A sub-irrigated planter, or SIP, fundamentally redefines container gardening by introducing water from the bottom rather than the top. Unlike traditional pots where water drains through quickly, often leaving the deeper roots dry, SIPs feature a built-in water reservoir beneath the growing media. Plants then draw moisture upwards through capillary action, a natural process that allows soil to wick water, much like a sponge. This simple yet revolutionary mechanism ensures that moisture stays precisely where your plants need it most: their roots.
The benefits of this system are profound. For us, embracing SIPs nearly a decade ago transformed our gardening experience, especially when growing hundreds of pounds of vegetables on a hot, windy NYC rooftop. Daily multi-hour watering chores became a thing of the past. Here’s why you need a SIP:
- Water Conservation: By preventing surface evaporation and runoff, SIPs use significantly less water than traditional containers. The enclosed reservoir protects water from the elements, ensuring every drop is available to your plants.
- Consistent Moisture: Capillary action provides a steady, even supply of moisture directly to the roots. This eliminates the feast-or-famine cycle of manual watering, preventing stress and promoting healthier growth.
- Reduced Watering Frequency: Instead of daily watering, you might only need to replenish the reservoir once a week, or even less frequently depending on plant size and weather. This convenience is a massive time-saver.
- Healthier Plants: With consistent moisture and nutrients delivered directly to the root zone, plants in SIPs often exhibit more vigorous growth, larger yields, and increased resilience against heat stress and disease. We saw our tomato plants soar to 8 feet, yielding pounds of produce daily!
- Nutrient Efficiency: Fertilizers placed within the growing medium are less likely to leach out with bottom-up watering, making nutrients more available to your plants.
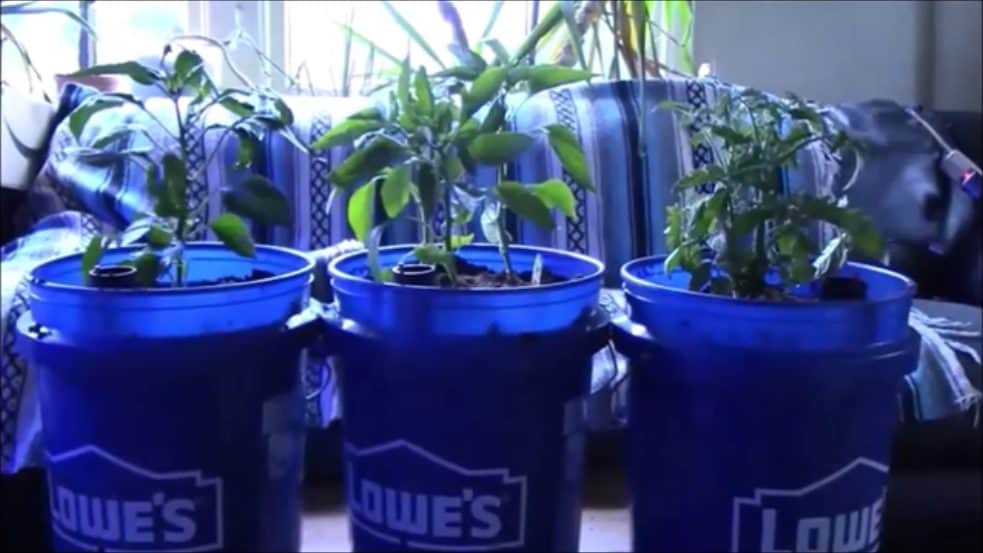
- Versatility: SIPs are perfect for any garden size or location – from small patios and balconies to large raised beds, and even indoors under grow lights.
While various premade SIP solutions exist, they can be costly, especially for gardeners aiming for high production. Building your own DIY SIPs is not only budget-friendly but also offers the flexibility to scale your garden as much as you desire. You’re about to set up a simple system that takes a whole lot of stress off your shoulders, letting you truly enjoy your garden.
Gathering Your Gear: Essential Supplies for Your DIY SIP
Building your own sub-irrigated planter is surprisingly simple and requires only a handful of inexpensive materials. The key is choosing durable components that will withstand the elements and provide long-lasting performance. Here's what you'll need to gather:
Recommended Supply List:
- Container: A sturdy plastic tote is your foundation. We highly recommend 27-gallon HDX totes from hardware stores like Home Depot. Priced around $12, they offer excellent durability. Resist the temptation to buy bargain-bin totes; cheap plastics tend to crack and shatter after just one season in the sun, leading to wasted effort and resources. Invest a few extra dollars for a rugged style that will last for years.
- 2" PVC Pipe: This pipe serves two critical functions: as a fill tube for the water reservoir and as structural support for your false bottom. A 24-inch length is generally sufficient for standard totes, providing enough height to easily pour water or insert a hose. While you can buy longer sections and cut them, some hardware stores offer pre-cut 24-inch pieces. For multiple SIPs, purchasing a 10-foot section and cutting it yourself is more economical.
- 7mil Plastic Sheet: This heavy-duty plastic will create the crucial barrier between your water reservoir and your growing medium. It needs to be strong enough to support the weight of the soil and plants. Alternatives like thick pond liner or even multiple layers of heavy-duty trash bags can work in a pinch, but the 7mil sheet offers superior durability.
- Growing Medium: This is arguably the most critical component for SIP success. You MUST use a high-quality potting mix. Do NOT use garden soil, topsoil, or even generic "potting soil" that is too dense. Potting mix is specifically formulated to be lightweight, airy, and to facilitate the wicking capillary action essential for SIPs to function correctly. If your medium is too heavy or compact, water will not properly wick up to your plants, rendering the system ineffective. Look for mixes with ingredients like peat moss, perlite, and vermiculite.
- Vegetable Fertilizer: A balanced, slow-release granular fertilizer is ideal for SIPs. Look for an N-P-K (Nitrogen-Phosphorus-Potassium) ratio that is not excessively high in nitrogen, as ratios above 10-10-10 can burn plants, especially heavy feeders. Follow package instructions for application rates.
- Tools:
- Hand Saw: For cutting PVC pipe to length.
- Drill with large bit (1/2" - 1"): To create drain holes and holes in your false bottom for wicking.
- Measuring Tape and Marker: For accurate cutting and marking.
- Utility Knife or Scissors: For cutting the plastic sheet.
Step-by-Step: How to Make a Sub Irrigated Planter
Once you have all your materials, the assembly process is straightforward. Follow these steps to build your own efficient SIP:
Step 1: Prepare Your Container
Start by thoroughly cleaning your tote. Using your drill, create several 1/2-inch to 1-inch drain holes along the side of the tote, about 2-3 inches from the bottom. These holes are crucial! They serve as an overflow mechanism, preventing the water reservoir from overfilling during heavy rain and ensuring your plants' roots don't sit in stagnant water, which can lead to root rot. Place the drain holes strategically to allow excess water to escape while maintaining a consistent reservoir level.
Step 2: Create the Water Reservoir and Wicking System
This step involves creating the false bottom that separates your water reservoir from your soil, allowing for wicking. Cut your 2-inch PVC pipe into several pieces. You'll need one piece for the fill tube (24 inches) and several shorter pieces (about 3-4 inches) to act as supports for your false bottom. Arrange these shorter PVC pieces on the bottom of the tote, creating a stable platform. Now, take your 7mil plastic sheet. Cut it to fit snugly inside your tote, resting on top of the PVC supports, forming a false bottom. Before placing it permanently, drill or cut numerous small holes (about 1/2 inch) into the plastic sheet. These holes are vital for allowing the potting mix to make contact with the water in the reservoir and for the capillary action to occur. You can also create a few larger holes in strategic spots for inserting "wicking cups" or for additional PVC pieces to extend into the water, further ensuring good wicking contact.
Step 3: Install the Fill Tube
Position your 24-inch PVC pipe upright in one corner or along the side of the tote, extending from the bottom of the reservoir (through a hole in your plastic sheet) to just above the rim of the tote. This will be your access point for refilling the water reservoir. If you have extra PVC, you can use a smaller section, perhaps 6-8 inches, to create a central "wicking chimney" by drilling numerous holes in it and placing it upright, allowing it to be filled with potting mix to act as a primary wick.
Step 4: Add Growing Medium and Initial Fertilizer
Carefully pour your chosen potting mix into the tote, filling it to about 1-2 inches from the rim. If you created a wicking chimney, make sure to fill that with potting mix first. Gently pat it down, but don't compact it excessively, as this can hinder wicking. At this stage, you can mix in your slow-release granular vegetable fertilizer according to package directions, distributing it throughout the top few inches of the potting mix. This provides initial nutrients for your plants as they establish. If you're looking for even more advanced techniques to boost your garden's output, check out our guide on DIY Sub-Irrigated Planter: Easy Guide for Bigger Harvests.
Step 5: Plant Your Crops
Now you're ready to plant! Dig small holes and carefully place your seedlings or seeds. Consider the mature size of your plants when determining spacing. Once planted, give your SIP an initial top watering. This helps settle the soil around the plant roots and kick-starts the capillary action from the reservoir. Ensure the top few inches of soil are thoroughly moistened.
Step 6: Fill the Water Reservoir
Once your plants are in and the topsoil has received an initial soak, use a hose or watering can to fill the reservoir through the PVC fill tube. Pour water until you see it begin to trickle out of the drain holes you drilled. This indicates the reservoir is full.
Maximizing Your SIP Success: Tips for Bountiful Harvests
Building your SIP is just the beginning. To get the most out of your sub-irrigated planter and enjoy truly spectacular harvests, keep these tips in mind:
- Monitor Water Levels: While SIPs drastically reduce watering frequency, they don't eliminate it entirely. Check the water level in your fill tube regularly – perhaps every few days, or once a week in cooler weather. Refill when the reservoir is low, again until water drains from the overflow holes. You'll quickly get a feel for how often your plants need water based on their size and the weather conditions.
- Choose the Right Crops: Heavy feeders and water-loving plants absolutely thrive in SIPs. Tomatoes, peppers, cucumbers, squash, eggplants, and leafy greens like lettuce and spinach are excellent choices. Their consistent access to water and nutrients helps them produce abundant yields. The reference context mentioned 8-foot tall tomato plants giving pounds of vegetables a day, which is a testament to how well SIPs work for these types of crops!
- Fertilize Smartly: With SIPs, nutrients are less likely to leach away. Incorporate a good slow-release organic fertilizer at planting, as mentioned. For long-season crops, you may need to top-dress with additional fertilizer or use a liquid feed through the fill tube (diluted, of course) every few weeks as needed. Always follow product instructions and err on the side of caution to avoid nutrient burn.
- Initial Top Watering is Key: Don't skip the initial top watering after planting. This helps establish good capillary contact between the roots, the potting mix, and the reservoir, ensuring your SIP starts wicking effectively from day one.
- Mind the Climate: While SIPs are fantastic for hot, windy conditions, extremely high temperatures can still lead to increased water consumption. Conversely, during periods of heavy rain, ensure your overflow holes are clear to prevent waterlogging.
- Winterization and Maintenance: If you're in a climate with freezing winters, empty your SIPs of water to prevent cracking of the plastic tote. Clean them out, and if possible, store them indoors or under cover to extend their lifespan. Replace potting mix every few seasons for optimal plant health.
Embracing SIPs isn't just about saving time; it's about fundamentally changing how you interact with your garden, making it a truly enjoyable experience. Discover more about this transformative approach in The Sub-Irrigated Planter Game Changer: Grow Plants With Less Effort.
Conclusion
Building your own sub-irrigated planter is one of the most impactful and budget-friendly gardening projects you can undertake. By understanding how to make a sub irrigated planter, you unlock a system that delivers consistent moisture, conserves water, and dramatically reduces your daily watering chores. From small balconies to expansive backyard setups, SIPs empower you to grow healthier, more productive plants with less effort. So, gather your supplies, follow these simple steps, and prepare to be amazed by the bountiful harvests and newfound freedom in your garden. Say goodbye to daily watering and hello to a thriving, low-maintenance garden today!
